Things are a bit more complicated if you want to use a Media Transfer Protocol app instead of a file manager to do so, since MTP and Ubuntu don’t necessarily like each other. Fortunately, there’s a way to get them to communicate with the same file system libraries to effortlessly transfer files back and forth to any of your Android devices. This should work with any modern official version of Ubuntu, including those that use alternative graphical file managers. If you’re using Xubuntu with Thunar, Lubuntu with PCManFM or Kubuntu with Dolphin, then you’ll still have no issues though you will have to use the proper MTP tools to send files over if you don’t have an appropriate plugin.
Installing and Using MTP in Ubuntu
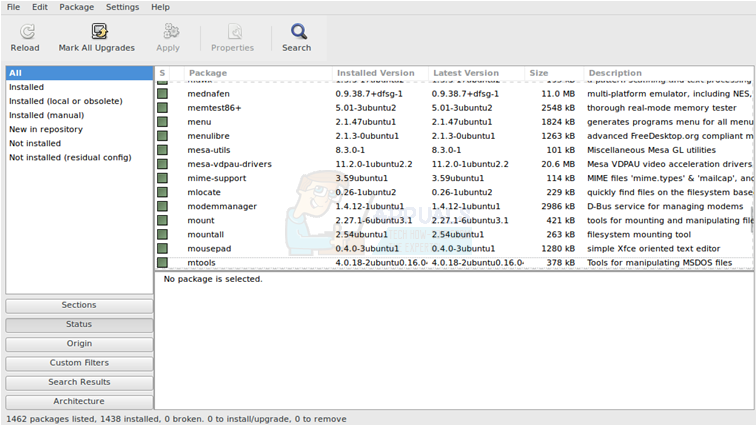
You’ll need to install several common Media Transfer Protocol (MTP) apps before you use it to send and receive files. You can do this via the Synaptic Package Manager if you have it available by opening it from the Dash, Whisker Menu or LX Panel. You’ll need to search for and install these packages: More than likely Synaptic will actually start to suggest some of them as dependencies while installing, so you won’t have to find them all individually. You can always start typing the name of a package to help you find it in the long list that Synaptic gives you upon starting the program. Naturally, you’ll need root privileges to install packages, so you’ll probably have to enter your password when starting it. mtp-tools libmtp-dev libmtp-runtime libmtp9
An easier method would be open a terminal by holding down CTRL, ALT and T and then issuing these commands: In either case, this should install the tools you need to work with the protocol. FUSE (Filesystem in Userspace) controls file system implementation mounts performed by users without the privilages to do so, and therefore only allows unrestricted access to the root account, which is hashed out by default in Ubuntu. You can override FUSE’s built in security features by editing a specific file. Type at the terminal and push enter. sudo apt-get install libmtp-common mtp-tools libmtp-dev libmtp-runtime libmtp9 sudo apt-get dist-upgrade At the bottom of this file, you’ll find a line that reads #user_allow_other, and you’ll need to remove the hash mark from the front of that line. Every other line should remain commented. Push CTRL and X at the same time, push y and then push the enter key. This will save the file.
Connect your device to your PC with the USB cord and then type lsusb to bring up a table. Look for the name of your device in the table. You can safely ignore any of the other information that the program tells you, and if you miss the name then you can safely run it as many times as you wish. Once you’ve found the line that identifies your device, run and push enter. You can replace nano with the name of a different terminal text editor if you’d rather use one other than nano, such as vi or even emacs if preferred. At the bottom of the file, add the line of code:
Replace nameOfDevice with the name of the device you found after running lsusb, and the four number signs should be replaced with the first and second set of four digit addresses found immediately after that name. Technically the text after the # symbol is a commented label, and you could type anything you’d like after it, so if you need to make a note about any information in regards to your device, this is an appropriate place to do so. Once you’ve saved the file, safely eject and remove any USB device that’s currently attached to your system and run sudo service udev restart from your terminal window. Save remaining work that you have open and close every program you can before actually fully rebooting your machine. As soon as your PC restarts, plug your Android phone or tablet back into it after making sure that you didn’t lock the screen. You should now be able to transfer files to and from your Android device using the quicker MTP libraries. Run the sync command with no arguments from the terminal any time that you want to make sure that the buffers that Ubuntu uses to temporarily store data are completely written out to your Android device. This will ensure that you won’t suffer any sort of data loss. If you have a microSDHC slot on the device, then Ubuntu might even mount it as a vfat file system, which confuses some users. This is actually unrelated to MTP, and this should happen even if you don’t have MTP installed. While vfat stands for Virtual File Allocation Table, there’s nothing virtualized or emulated. This is a standard FAT12, FAT16 or FAT32 file system that shares it’s heritage with the old MS-DOS manner of managing files. Microsoft Windows used something called a virtual device driver to allow you to write long file names to these file systems when DOS wouldn’t allow it, and Android uses this same structure to mount attached SD Cards. Should you have a card mounted like this then you can copy and move files between it and Ubuntu without any problems, though it won’t support Unix file permissions. Make sure to eject it as if were a separate USB device to prevent data loss.
Ubuntu 18.04 LTS Bionic Beaver Officially Available for Ubuntu, Kubuntu,…How to Transfer Large Files Quickly Between Two Android DevicesHow to Transfer Photos between Android Devices Without Losing TimestampsHow to Transfer Files from Ubuntu to Windows 10 in Dual Boot