- Windows XP SP2, Windows Vista, or Windows 7 (32-bit or 64-bit)
- Pentium 233-megahertz (MHz) processor or faster (300 MHz is recommended)
- 50MB of free space on your hard drive
- DVD-R drive or 4GB removable USB flash drive
Create a Bootable Windows 7 USB/DVD
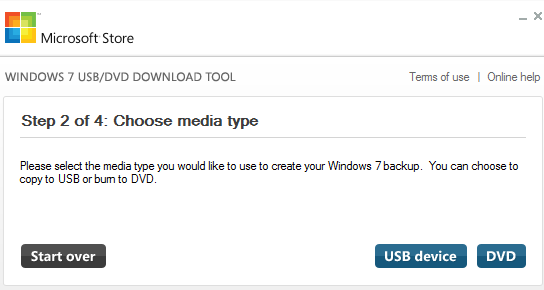
Download the Windows 7 bootable USB/DVD Download Tool by Clicking Here. Click and run the downloaded file Windows7-USB-DVD-tool.exe. You will be asked to choose the ISO file for which you need to create the USB/DVD. Download the required Windows 7 ISO file (ensure that you have genuine license or have purchased Windows 7). https://docs.microsoft.com/en-us/lifecycle/products/windows-7 At this stage you should be on Step 1 of the Windows 7 bootable USB/DVD Tool along with the required ISO file downloaded. Click on the Browse button and select the downloaded ISO file and click Next. Select your media-type either the DVD or the USB.
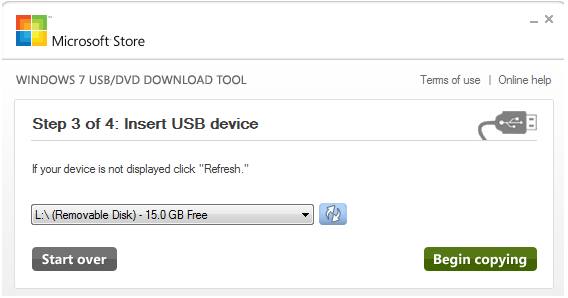
After you select the media-type you will be asked to select the appropriate device from the drop-down as shown below. Select the correct media type and click on Begin Copying.
You will see the bar progress as it writes to the media to create the bootable media. Once it has completed the process, you have successfully created the bootable media for Windows 7 which can be used to boot and install Windows 7 on systems. Most devices now allows you to directly boot through USB if this option is not available then you can change the boot order from the bios. Look for options at start-up before the system brand’s logo is displayed. These options are accessed by F keys, the most commonly used key to access bios is F11. Note: This tool is also used in creating bootable media for Windows 8, 8.1, and 10. The procedure is the same. You can also check on how to Create Windows 10 Bootable USB using Rufus
How to: Create an Ubuntu Bootable USB on Mac, Windows or UbuntuHow to Create a Bootable Windows 11 USB Installer on a MAC?How to Create Windows 11 Bootable USB Installation MediaHow to Create Windows 10 Bootable USB Using Rufus

