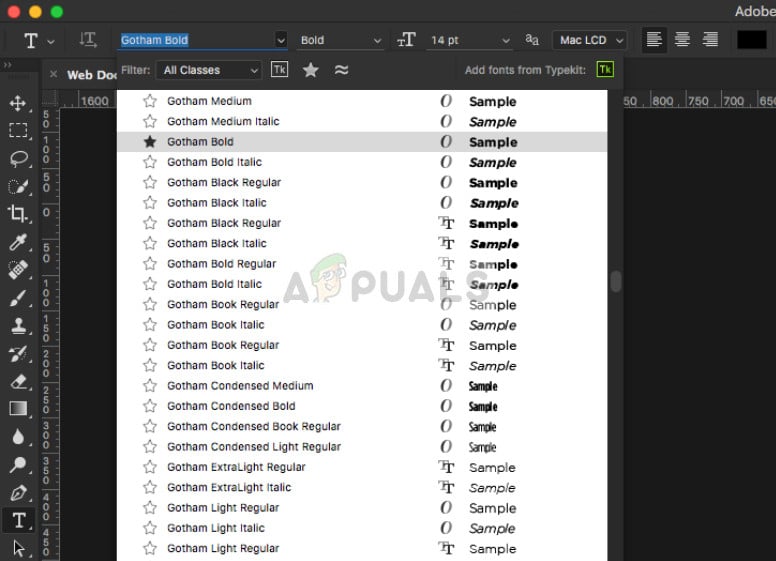
One noticeable option which you might need as a graphics designer in Photoshop is fonts. Since Photoshop already has all the predefined Windows fonts, you might be looking on how to add more fonts to the software suite. The answer is simple; simply install the font on your Windows. When you install it in the operating system, it automatically gets picked up by Photoshop and you can use it wherever you want. Note: Not all fonts are supported by Photoshop. If you see some of the fonts showing up but others missing from the font selection menu in the application, it probably means that they are not supported (yet!) on the platform. You might have to see for other alternatives.
Downloading and installing Fonts on Windows
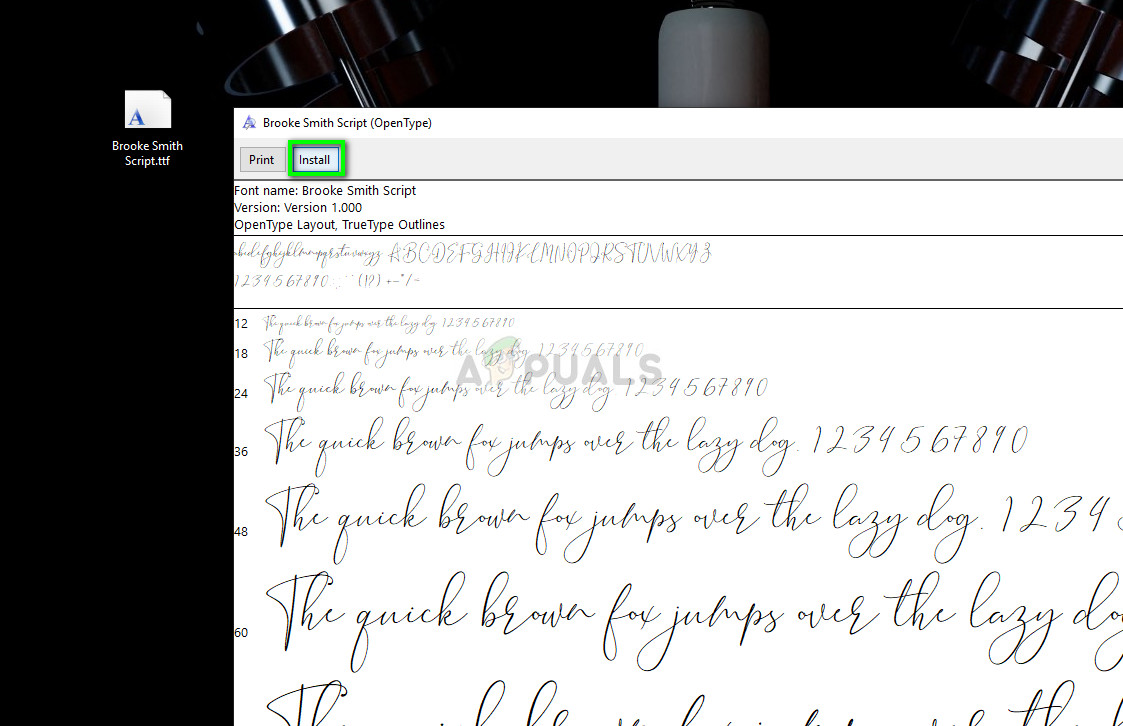
Like mentioned before, we will try downloading the fonts on your windows machine. The Photoshop software will automatically pick up the fonts from the system and allow you to select them whenever you want. Make sure that you have an active internet connection and administrator privileges. If you want to install fonts directly from the Windows store, you can do so from the font’s main menu. It has a redirection link for Microsoft store from where you can install the font directly instead of download manually and then installing.
Photoshop Without Photoshop - 7 of the Best Open-Source & Free Photoshop…How to Add Custom Fonts to Google Docs?How to Add Artboards on Adobe Photoshop CC 2018How to Install Fonts with SkyFonts on Windows