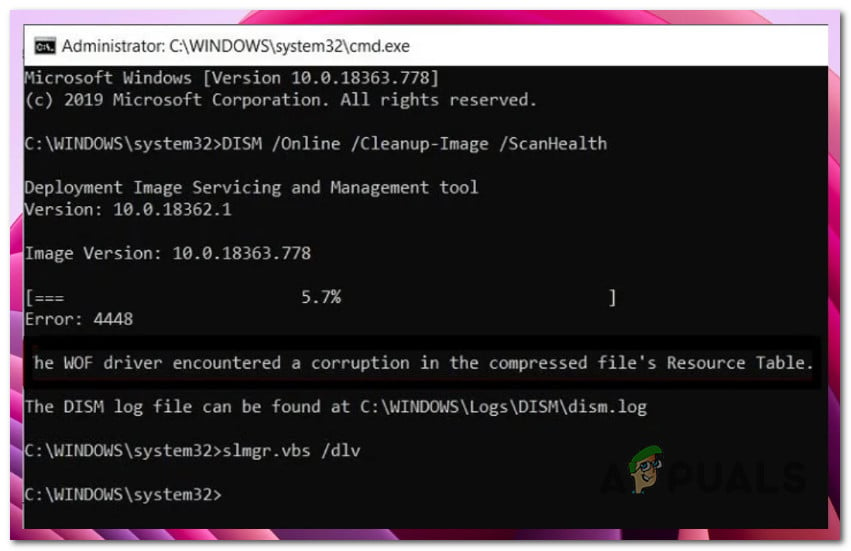
T7his issue can have multiple potential root causes. Here’s a short list of culprits you should investigate when troubleshooting the ‘The WOF driver encountered corruption in the compressed file’s Resource Table’ error on Windows 10 and Windows 11: Now that we have gone over every potential reason why you might experience this problem let’s go over a series of confirmed fixes that other Windows 10 and Windows 11 users have successfully used to get rid of the ‘The WOF driver encountered corruption in the compressed file’s Resource Table’ error when running a DISM scan.
1. Perform an SFC Scan
If the DISM scan is not functioning as it should and it throws the ‘The WOF driver encountered corruption in the compressed file’s Resource Table’ error each time you initiate the scan, your first action should be to deploy a System File Checker (SFC) scan to attempt to treat the issue locally. Note: Unlike a DISM scan, an SFC scan doesn’t rely on an Internet connection to fix or replace system file corruption. Instead, it uses a locally stored cache of Windows files. Once you initiate this procedure, it’s important to avoid closing the elevated CMD window prematurely. Follow the instructions below to initiate an SFC scan from an elevated CMD prompt: If you’re still experiencing the same ‘The WOF driver encountered corruption in the compressed file’s Resource Table’ error, move down to the next method below.
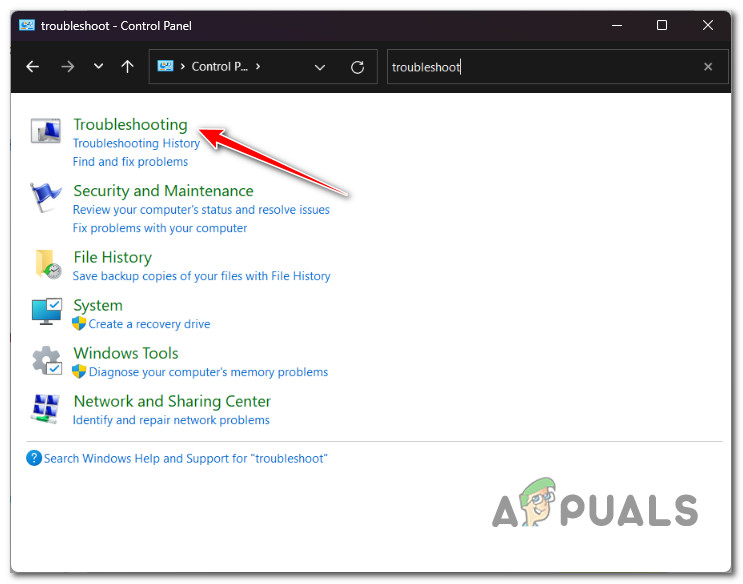
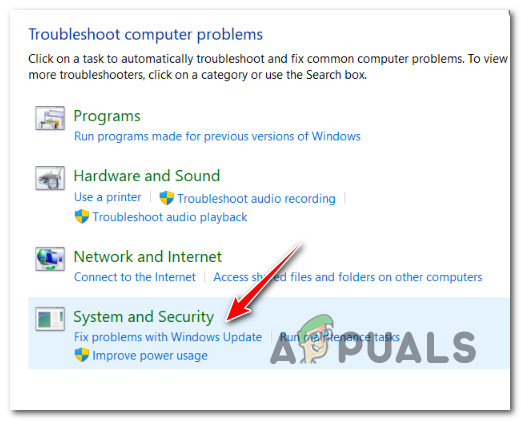
2. Run the Windows Update Troubleshooter
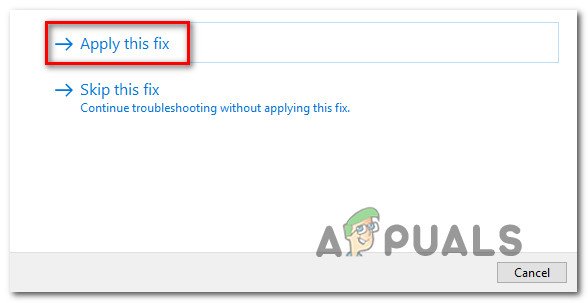
If the SFC scan above didn’t resolve the problem for you, you should look into any potential WU component issues. Many afflicted users that began to see the message “The WOF driver experienced corruption in the compressed file’s Resource Table” following the installation of a scheduled Windows update have confirmed this. There is probably a Microsoft repair plan in the Windows Update Troubleshooter that you may use to fix the issue. The problem should be resolved by running the Windows Update Troubleshooter and applying the recommended patch. Remember that Windows 11’s troubleshooting tool is far more thorough than previous releases. If an identifiable issue is discovered, Microsoft has included hundreds of new automated repair options that may be immediately deployed to fix Windows Update’s functionality. Follow these steps to utilize the Windows Update Troubleshooter and apply the suggested fix: Go to the next procedure below if the problem is still present.
3. Reset every WU component
If the following solution doesn’t work for you, you’re probably dealing with a chronic problem that affects the Windows Update component. If the aforementioned traditional methods didn’t work to fix the “The WOF driver discovered corruption in the compressed file’s Resource Table” error, use the same repair approaches to reset every Windows Update component that could be causing issues with your next Windows updates. Most of the time, this type of issue is caused by one or more WU (Windows Update) components that are now dormant (i.e., neither open nor closed). If this is the case, you may fix the problem by restarting every WU component involved in the upgrade process. Follow these procedures to reset the whole WU component from an elevated Command Prompt: If the issue persists after successfully refreshing every Windows Update component, scroll down to the next suggested fix below.
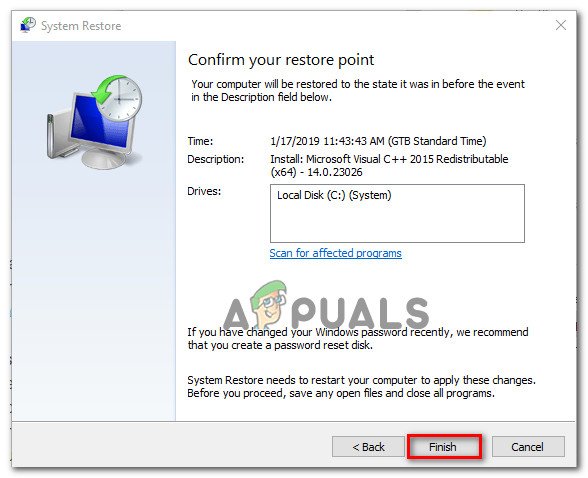
4. Use System Restore
Following a recent system change, you may anticipate dealing with this problem, according to multiple affected individuals (like installing an infrastructure update, a driver update, or a cleanup procedure performed by an antivirus). You may probably completely prevent the issue and fix the error by rolling your PC back to a working condition using System Restore to go back in time. Important: Note that carrying out this action would undo all adjustments made following the creation of the system restore point. Everything will be gone, including all installed applications, adjusted system preferences, etc. If you want to use this specific cure while being aware of the risks, follow the directions in this article. Choose the following approach if you don’t have a workable restore point or if this method didn’t fix the issue in your case.
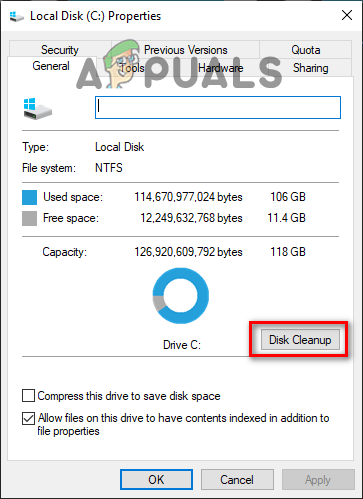
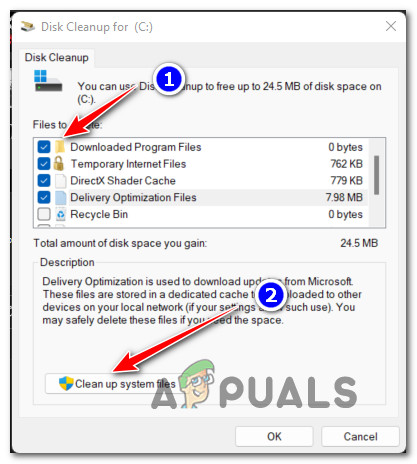
5. Deploy a Disk Cleanup
If you haven’t already, you should try using the Disk Cleanup tool to remove any unwanted DirectX Shader Cache, Delivery Optimization Files, Temporary Internet Files, or Downloaded Program Files that can cause Windows 11 to malfunction during DISM scans. If the issue only recently began to manifest, follow the steps below to conduct a Disk Cleanup scan and delete all superfluous system files: Before executing the steps below, be sure no resource-intensive tasks are currently running. Here’s what you need to do to deploy a Disk Cleanup scan: Continue to the next probable solution below if you still have the same problem.
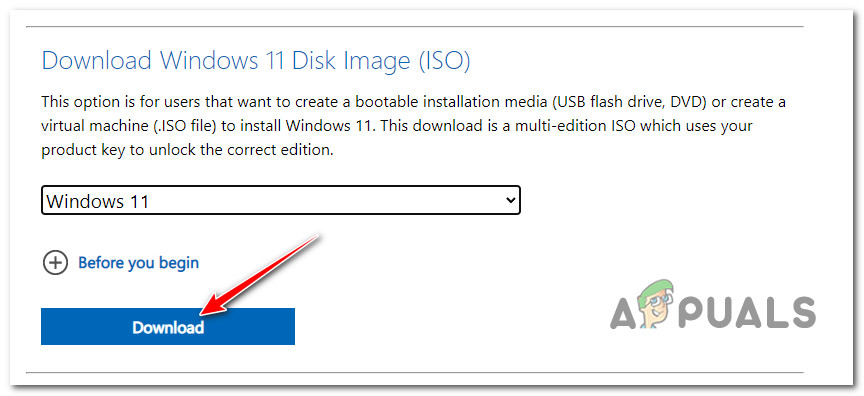
6. Perform a clean install or repair install
If none of the methods mentioned so far have assisted you in fixing the WOF error, you may conclude that your issue is the consequence of a system corruption issue that cannot be fixed in the conventional manner (with an SFC scan). Other Windows users who had a similar issue said that the issue was fixed once they updated every Windows component. This may be achieved via a clean install or an in-place fix (repair install). The main drawback of a clean install is that you can’t store your stuff (apps, games, personal media, etc.) unless you back them up. On the other side, the major advantage of selecting a repair install is that you can keep all your personal information, including applications, games, personal media, and even certain user preferences. But the procedure takes a little longer.
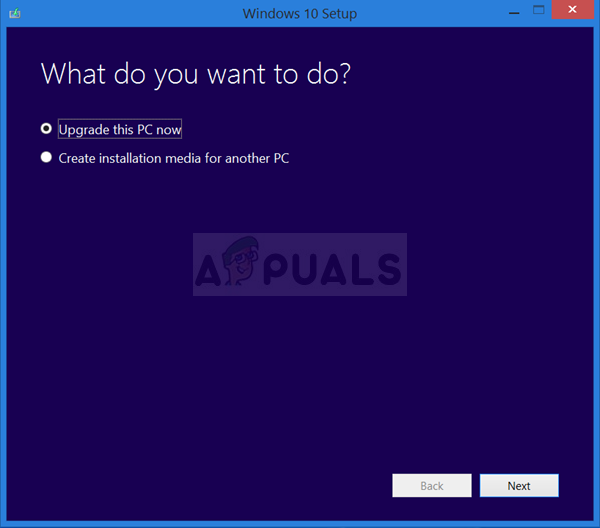
7. Perform an in-place upgrade (Windows 11 only)
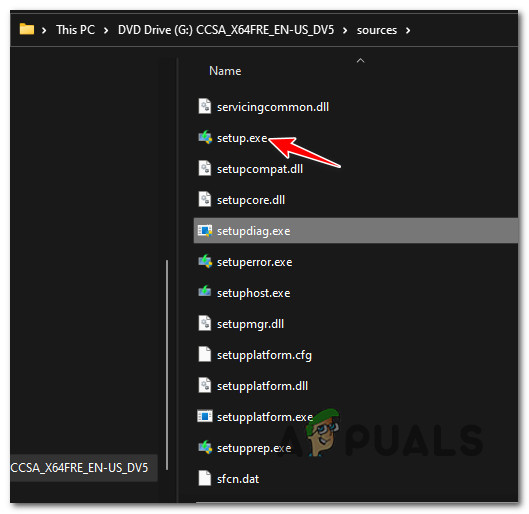
The absolute last resort if the “The WOF driver found corruption in the compressed file’s Resource Table” problem is still occurring is to perform an in-place upgrade of Windows 11. Because it takes the most time and work, this is the last technique covered in this tutorial. Nevertheless, many Windows users who have gone through this have discovered that this approach successfully resolves their issues. You will effectively avoid the local component utilized to update your Windows version if you choose this path, so consider that. The disadvantage of this approach is that it will get you around the problem rather than at its root. Important: To guarantee that you remove any damaged files, we highly advise you to back up your important data to a secure location and reset all your computer’s settings. Here’s how to use the Windows Install assistant to do an in-place upgrade on your computer: Note: The instructions below will only work on Windows 11.
Fix: Windows Encountered a Problem Installing the Driver Software for your…Fix: Photoshop has encountered a problem with the display driverHow to Fix Kernel Mode Heap Corruption ErrorHow to Lower the Corruption Status Effect on Conan Exiles